Custom Keypad for N1MM+ Contesting
Using the ELSTRAsmart PK-2068 Keypad
After progressing to SO2V, it was clear that some of the key combination shortcuts could be better implemented on a programmable keypad. A search of viable keypads was then started !
RPi or Arduino based keypads, such as the ones available from Pimoroni would work well in this usecase, but needed both assembly and programming, and building a case (3D print would work well here) A good example is this one – https://www.on5mf.be/2016/03/26/arduino-leonardo-external-keypad/
One-handed Gaming Keyboards looked like an option too, although some of their specific gaming features and additional display would not be supported within N1MM+ natively and I was not sure I wanted the additional work of writing software.
POS terminal keypads – Fulfil the use case and are pre-packaged and have programming software already built.
No surprises that I went with the last option, and one of the cheapest options here was an ELSTRAsmart keypad, at £37.
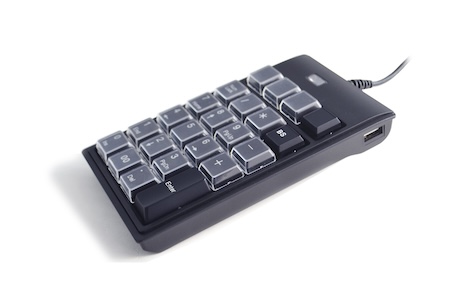 ELSTRAsmart PK-2068 Keypad
Not much to say about the keypad, apart from the device itself is sturdy, and has a good footprint on the desk, and has removable keycaps (tool included) to put new labels in for the new key function and two modes, one as a traditional keypad, and one for being a fully customisable keypad.
Programming software isn't exactly intuitive, but with some testing started to understand what was going on. There are a few issues with Numlock etc, but all workable. The software driver download was fairly easy and install was typical for Windows.
The other good thing with this keypad is that I can actually configure it on another machine with the client software, but then use it on my Shack PC. The software looks fine, but isn't signed and therefore was sceptical about installing onto the shack machine as it's well configured. I have the Shack PC backed up weekly, and also image the whole disk to a spare on a regular basis using Acronis too.
N1MM+ Config
The first config plan was to have along the top row (both modes), the following ;
Move Focus to VFO A and start CQ – CTRL + < (1 sec pause) F1
Move Focus to VFO B – CTRL + >
Move Focus to VFO A – CTRL + <
Duelling CQ Alternate VFO's – CTRL + F1
Row two are the typical N1MM+ QSO keys ;
Call CQ – F1 ( CQ TEST de M1V M1V)
Answer – F2 ( xxxxxx 599 001 001 M1V)
TU – F3 (xxxxxx TU, M1V QRZ)
M1V – F4 (M1V M1V)
Row Three, Bandmap Navigation ;
Prev Spot – CTRL + up
Next Spot – CRTL + down
Prev Mult Spot – ALT + up
Next Mult Spot – ALT + down
Row Four, Band Switching ;
VFO A – Up – 160 > 10 – CTRL + PgUp
VFO A – Down – 160 < 10 – CTRL + PgDn
VFO B – Up – 160 > 10 – CTRL, Shift + PgUp
VFO B – Down – 160 < 10 – CTRL, Shift + PgDn
N1MM+ skips the band that the other VFO is on.
Row Five is only 3 keys ; Used for FT8 Ops, distinctly labled.
FT8 Enable/Disable
FT8 HALT
FT8 Erase
and Row six is also 3 keys ;
FT8 TX1
FT8 TX5
FT8 TX6
N1MM+ Keycap Labels
Microsoft Custom Labels, defined as 13.04 mm Square.
Typed in the Key functions and printed/sliced on 80gsm paper. Can print onto A4 Label sheets instead when settled with the layouts.
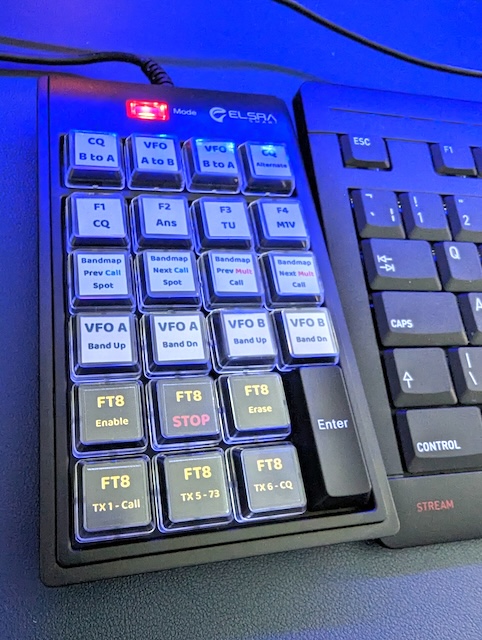 Keypad configured and labeled for M1V Contesting
Performance
To be Confirmed !
73 de M1VPN, damian.
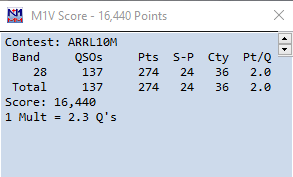 N1MM+ Summary
 CQWW Certificate – #1 England
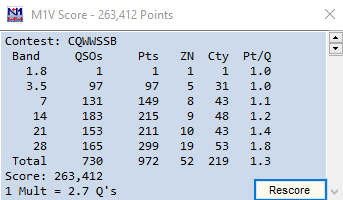 N1MM+ Summary
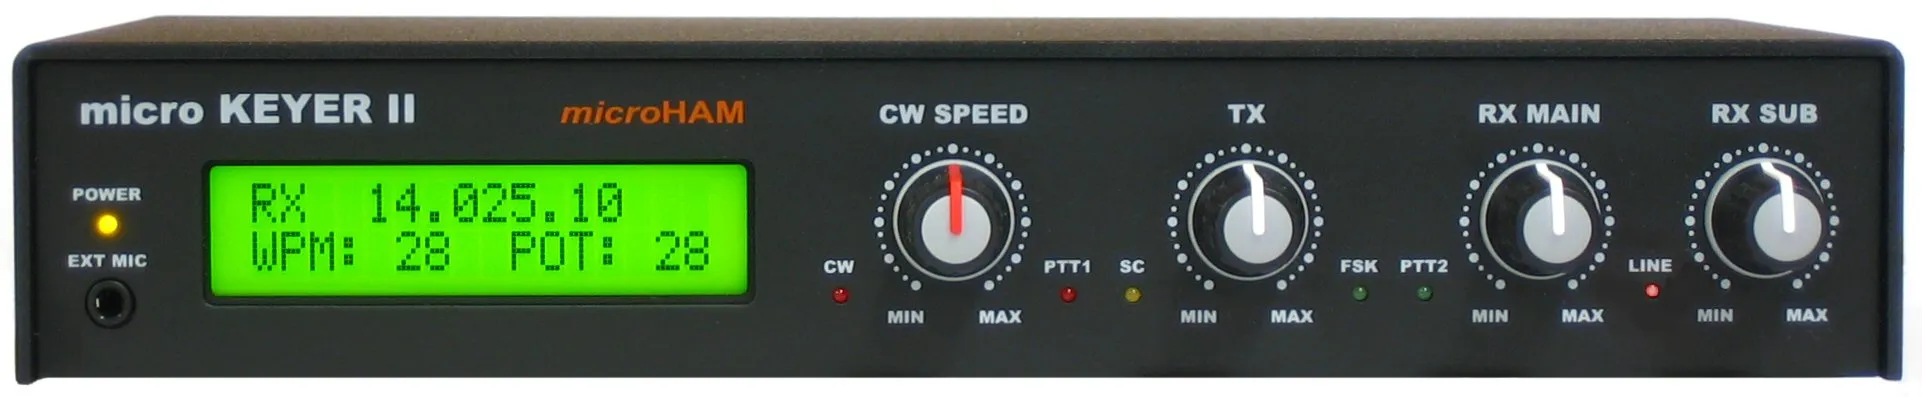 Microham micro Keyer II
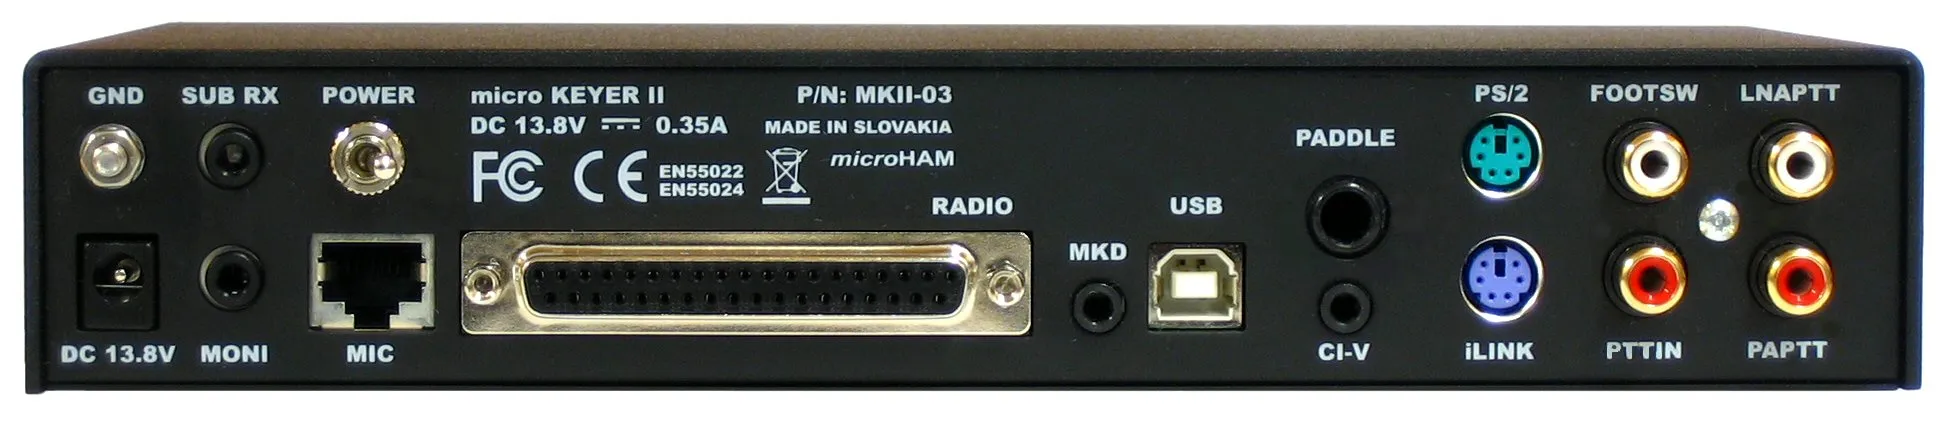 Microham micro Keyer II
